Tuesday, December 17, 2013

Christmas Crack

My friend introduced me to this new recipe and it is a winner!  I wanted to share it with you!  I will warn you now, it is very addicting...


Christmas Crack
Approximately 50 saltine crackers
2 sticks of butter (I tried to use margarine and it was kind of sticky)
1 cup brown sugar
2 cups chocolate chips (I used semi sweet)
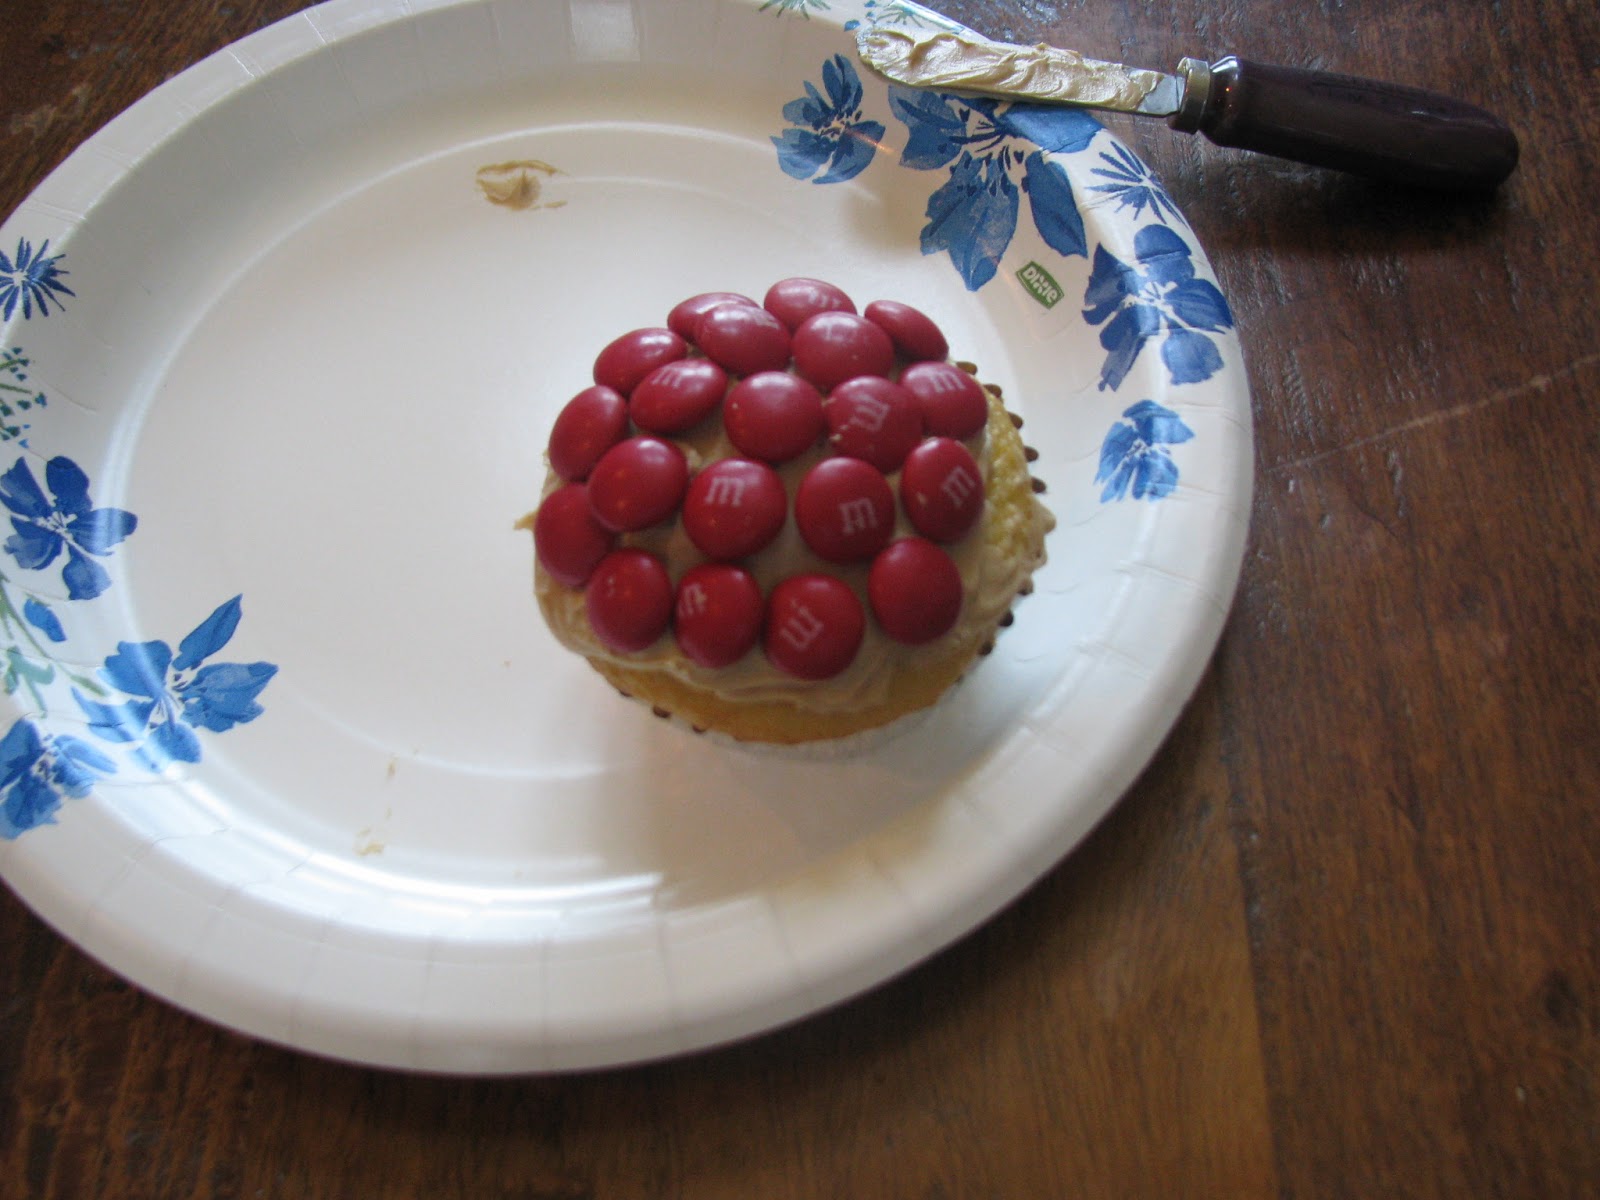
1 cup of M&M's, slightly crushed

Preheat your oven to 325 degrees F.  Line a jelly roll pan with aluminum foil and spray generously with cooking spray.  My pan is 13x17.  Line pan with saltine crackers.  In a medium sized pot, melt butter and sugar together.  Bring it to a rapid boil and let it boil for exactly 3 minutes, stir continuously.  Remove the pan from the heat and pour it over the crackers.  Spread the mixture the best you can.  Then pop it in the the oven for 7-8 minutes.  Then pour your 2 cups of chocolate chips over top.  Return your pan to the oven for approximately 2 minutes or until the chocolate chips have melted enough you can spread them over the crackers.  Spread the chocolate evenly over the crackers.  Sprinkle the M&M's on top.  You can also add sprinkles, Reese's piece could be good, or my friend used some Andes peppermint chips.  Place the pan in the refrigerator or freezer for 30 minutes to 1 hour.  Once it has hardened, break the pieces off the foil and enjoy!  This would be a great treat to give neighbors, friends, teachers, coworkers, etc.  Plus it is super quick and easy!!

Tuesday, July 9, 2013

Cottage Cheese Salad

My family LOVES this easy side dish!  In fact, this is the ONLY way my kids (and myself) will eat cottage cheese.


Cottage Cheese Salad
1 (24 oz) container cottage cheese
1 (8 oz) container Cool Whip
1 (3 oz) pkg Jello, unprepared (any flavor, we prefer cherry)

Mix all the ingredients together and let it set in the refrigerator until firm.

This recipe can also be found in the My Family Meal Planner #2 and Meal Planner for 2.  Simple, Easy meals planned for you for 4 days per week for an entire year!  All the recipes are included and the weekly grocery lists! www.myfamilymealplanner.com


Monday, June 24, 2013

4th of July Jello Cake

Jello cake is my favorite cake.  Just ask my mom.  I always requested a cherry Jello cake for my birthday when I was younger.  I love that the cake is cold, seems light and the frosting is amazing!  I thought it would be fun to try to make my favorite cake a little festive.  (Any excuse to make it!)  It worked out great!


Jello Cake
1 white cake mix (plus ingredients listed on the box)
1 (3 oz) pkg of Jello any flavor (for this recipe I used 1/2 a box of Berry Blue and 1/2 a box of Cherry)
3/4 cup boiling water
1/2 cup cold water

Frosting:
1 container Cool Whip
1 (3 oz) pkg Instant Vanilla Pudding
1 1/2 cups cold milk
1 tsp vanilla

Make cake as directed on the box.  Let the finished cake cool for 20 minutes or longer.  Then use a fork and poke holes all over the cake.  Mix 3/4 cup boiling water with your Jello.  After all of the Jello is dissolved, add the 1/2 cup cold water.  Then pour the Jello over the cake and put the cake in the refrigerator to allow the Jello to set up.   (For this cake, I stirred up my cherry Jello first.  I made the whole package of cherry, but only poured 1/2 of it over the cake.  The other 1/2 I put in a bowl and put it in the refrigerator to eat by itself.  I then let the Jello in the cake set up for a couple of hours.  I then made my entire box of berry blue Jello and let it cool to room temperature.  I then added a few more holes to the cake with my fork and poured 1/2 of the Jello mixture over the cake.  The other 1/2 I put in the refrigerator to eat later.  I then put the cake back in the refrigerator to allow the berry blue to set up.)  After an hour or so, you can begin to make your frosting.  Mix together the Cool Whip, pudding, milk and vanilla.  Frost the cake and store the cake in the refrigerator.


Tuesday, June 11, 2013

Oven Fried Broccoli

I really do NOT like broccoli, but I know it is good for me, so I keep trying it.  I am okay with in stir fry or fresh and dipped in ranch dressing, but I can not eat it steamed as a side dish.  Yuck!  I found this recipe on Pinterest and thought I would give it a try.  There was no direct link to the recipe, it was just listed under the picture.  The pinner claimed that her husband would rather have this oven fried broccoli instead of french fries.  I thought there was no way it could be that good.  I am happy to report that it is that good!  It really doesn't taste too much like broccoli and it has a crunch to it.


Oven Fried Broccoli

1 bunch of broccoli
2 cloves of garlic, minced
salt & pepper (just a few shakes of each)
olive oil(I use a few tablespoons, just enough that when you shake the bag there is some on each piece of broccoli, but not so much that you have olive oil puddled in the bottom of your bag)

Cut your broccoli into little pieces and put them in a Ziploc bag.  Add the minced garlic, salt, pepper, and olive oil.  Seal the Ziploc bag and shake until all the pieces are coated with olive oil and the garlic is spread about the broccoli.  Pour it out on a pan (I use my Pampered Chef stone) and bake at 425 degrees F for 20 minutes.  

I like to add carrots to the mixture too.  The finished product has a garlic taste and the broccoli is crunchy.  My 3 year old even asks for seconds!


Monday, June 10, 2013

Gymnastic Medals/Trophies Display

I am so excited!  We finally finished my daughter's shelf for all of her gymnastics medals.  I wanted something that was easy to add more medals to and we were also able to set trophies on top.  I searched Pinterest and put a few ideas together and came up with this.


I had my handy husband make it for me and then I painted it and added the vinyl lettering that I cut out with my Silhouette machine.  It is comparable to a quilt rack.  The bar the medals are hanging on is similar to a paper towel holder.  You just slip it out of one side, add your medal and slip it back in the hole.  

This could work for any sport!  My son is already asking for one for all of his soccer medals.


Wednesday, June 5, 2013

Monster Cookie Bars

We are loving these Monster Cookie Bars!  Best part is the recipe makes two 9x13 inch pans or one 11x17 inch pan.  I like to make one for our family and give one to a friend.  (The dough is really good too, but eat with caution because there are raw eggs in it.)


Monster Cookie Bars

Cream together:
1/2 c. margarine (you can use 1 cup to make them chewier)
1 c. sugar
1 c. brown sugar 

Mix in:
1 c. peanut butter
3 eggs

Add:
1 tsp baking soda
1 1/4 c flour
2 1/4 c quick oats

and then add:
1 c. M&Ms (or Reeses Pieces)
1-2 c. chocolate chips

Bake at 325 degrees for 20-25 minutes. Use an 11x17 inch pan or two 9x13 inch pans.


Wednesday, February 27, 2013

Dr. Seuss' Birthday

This Saturday is Dr. Seuss' Birthday. To celebrate, this Friday, my son's second grade class will be reading Dr. Seuss books and having Dr. Seuss inspired treats. I thought I would share with you what I am taking. I went for the Lorax theme and will be taking Nutter Butter Lorax cookies and suckers with the Lorax's mustache on them.


The cookies were very quick and easy!  I purchased a package of Nutter Butter cookies and 1 container of white frosting.  I made yellow and black frosting, but each one in a freezer Ziploc bag and snipped a very small hole in the corner of the bag.  I then just piped the frosting on the cookies.


For the suckers, I was lucky enough to be able to use my mom's Silhouette machine and cut the mustaches out of yellow cardstock.  If you do not have a Silhouette, you can just print the mustaches on yellow cardstock and cut them yourself.  Click HERE for the printable mustaches.  Put your mustaches on your suckers and you are set.  You could also use these on a bendy straw!


I hope you can celebrate Dr. Seuss in some way this week!


Friday, February 22, 2013

Oreo Stuffed Chocolate Chip Cookie Muffins

I have seen the Oreo Stuffed Cookies on Pinterest, but heard about this muffin on Facebook and thought I would give it a try.  They were delicious!


First we found our favorite Chocolate Chip Cookie recipe that is found in the My Family Meal Planner #2 and made a batch of dough.  (The dough I think is even better than the cookies!)  This can easily be done with store bought Chocolate Chip Cookie dough. 
 
Chocolate Chip Cookies
1 cup brown sugar
1 cup white sugar
2 eggs
1/3 cup butter, softened
½ tsp salt
2 tsp baking soda
1 tsp vanilla
1 cup Crisco shortening
3 ½ cups flour
1-2 cups chocolate chips
 
Preheat oven to 375 degrees F.  Mix everything together except the flour and chocolate chips.  When mixed thoroughly, blend in flour and then fold in the desired amount of chocolate chips.  Bake for 10 minutes if you are just making chocolate chip cookies, not Oreo stuffed.
 
After the dough was made, we lined our muffin tin with liners and sprayed the liners with cooking spray.  I then used my handy Pampered Chef scoops.
 
I used the small one and put a scoop of cookie dough in the liner.
 

I added an Oreo on top of that and pushed is down a little.


Then I topped the Oreo with another scoop of cookie dough using my medium sized Pampered Chef scoop.
 
 
I decided to push the cookie dough down with my hand so that the Oreo would for sure be covered with the Chocolate Chip Cookie.
 
 
I then baked them at 375 for 10-15 minutes, making sure the chocolate chip cookie was golden.
 
 
The inside of the Oreo was warm and gooey.  They were awesome!  We even dunked them in milk!  (Yes, I still have Halloween Oreos.  I got them the day after Halloween for 50% off and store them in my freezer.  I had to stock up at that price!)


Friday, February 15, 2013

1st Place Valentine's Box!

My daughter's 4th grade class had a contest for the best Valentine's Box and my daughter won 1st Place!  We decided that we would make hers look like a Redbox DVD Rental machine.  I realize I am posting this after Valentine's Day, but she did not want me to share her idea with anyone before the contest.
 
 
Sorry, I don't have a tutorial for you, but here is an up close picture of the box.
(Her name is Andi, so that is why we called it Andi Box.)


Monday, February 4, 2013

Spinach Smoothie

My family and I decided to do a fitness/health challenge this year that we started back in January.  We are following the Six Sisters Stuff Weight Loss/Get Healthy Challenge.  You can find it HERE.  You receive points for eating fruits and vegetables, exercising, no sweets, not eating after 9 pm and so on.  It has been great for our family and extremely hard!  I realized just how much junk food I was eating throughout the day.  I decided to try and knock out a fruit and vegetable right away in the morning and try a spinach smoothie.  Much to my surprise, it was GREAT!  What is even more amazing is that ALL of my KIDS will drink it too!  It tastes like a strawberry banana smoothie.  You can't even taste the spinach. 


Spinach Smoothie
1 banana
4-5 frozen strawberries
1 cup vanilla yogurt or 1 (6 oz) container (you can use plain, strawberry or greek yogurt too)
1 cup milk
1 handful of fresh baby spinach
2 cups ice chips


Put your banana, strawberries, yogurt and milk in the blender and mix until smooth and creamy.
 

Next add a handful of spinach. Stir it up if necessary so that all the leaves get chopped really well.  Mix with your blender until the mixture is smooth.


Add in your two cups of ice chips.  (You can use ice cubes, I just find it chops better if they are already ice chips.)  Mix it with your blender until it is smooth.
 
 
Here is the finished product.
 
 
Like I said, my KIDS LOVE IT!  We have had them every day for the past 4 weeks.  We have also added in blueberries some days and don't tell my kids, but now I am adding in milled flax seed for more fiber.  If you have a really great blender, you may be able to just throw it all in at once and mix it one time.  I just want to make sure it is smooth so I do it in steps.  Also, if you are afraid your kids won't drink it because it is green, add lots of blueberries or introduce it around St. Patricks Day!


Monday, January 28, 2013

Cupcakes or Pie???

 
Cupcakes or Pie???
 
 
M&Ms are such a versatile candy....they can even represent fruit!
We sorted a large bag of M&Ms into colors.
 
 
Next we tinted 1 cup of basic buttercream frosting with 1 tsp. of cocoa to take on a light brown color, and frosted the cupcakes. 
Then we chose our "fruit", aka M&M color and covered the frosted cupcake. 
 
 
Next we filled a ziploc bag with the cocoa tinted frosting, and snipped the corner to create a pasty bag.  Then we created a grid or lattice across the "fruit"........


These three 8 year olds made some amazing, and delicious, fruit pie cupcakes! 
 What will they think of next!


Friday, January 25, 2013

Indoor S'mores Making Kit

I am so excited to share with you what we will be giving our cousins for Valentine's Day this year!  We have made them each an Indoor S'mores Making Kit!  I came up with my idea after I saw this pin on Pinterest.  This would be a great gift to give to your own kids too.


I found all my items at Walmart and the kit costs around $7 to make.  I included a box of graham crackers, heart shaped marshmallows, Hershey kisses, skewers to put the marshmallows on and our "campfire", a jelled chafing fuel. 
 
 
This is what my can looks like.  I had to go on a hunt for them at Walmart.  Every department sent me to another department, but they were finally found in the party aisle by all the balloons and party favors.  They came 2 to a package and were $3.88 for the package.  Best part is is that you can reuse it.  When you are done making your s'mores just close the lid, let it cool and then it is ready for next time.  We had to test this out before we mailed our kits to make sure it worked and my kids loved it! 
 

I have a feeling we will be making these A LOT this winter!  Even my littlest enjoyed them!
 
 
I also have the printable that I put inside the box for you here.
 
 
Warning:  Use ONLY with Adult Supervision!
Do NOT leave flame unattended and place your "campfire" on a non flammable object!
(I am not responsible for any injuries!)


Need some meal planning help??  My Family Meal Planner is here to save you from the dreaded question: "What's for Dinner?"  4 meals planned per week for an entire year, all the recipes are included and the weekly grocery lists!  You also receive a grocery list notepad with your lists already printed for you.  Just cross off what you already have and head to the store.  It is so simple!  All meals are quick and easy with ingredients you have heard of and you will know where to find them in the store.  There is also one crock pot meal each week.  Many options are available, family, light, crock pot only, for 2, meat optional, kids, lunchbox, and on the grill.  Click on the books above or head to the website: www.myfamilymealplanner.com.


Related Posts Plugin for WordPress, Blogger...