Sunday, October 16, 2011

Monster Cookies in a Jar

We always get our nieces and nephews something for Halloween.  They are getting older now, so it is harder to come up with something for all of them.  This year I decided we would make Monster Cookies in a Jar and decorate the jars like monsters.  The kids and I headed to Hobby Lobby, bought some jars and found some stickers that you can decorate pumpkins to look like monsters.  When I bought these I thought they would be the same size as the pictures on the outside of the package, but they were much larger.  Here are some from Oriental Trading that would work great.  I have used these before on pumpkins, but didn't have time to order them this year.  They would be the perfect size.  We made due with what we had and I think they turned out great.


I let the kids pick out the monsters they wanted and decorate the jars.  We bought the smooth Mason Jars at Hobby Lobby and they happened to be 50% off that week too.


Here are the jars.  Next we added the monster cookie mix as follows:

2 cups old-fashioned oats
1 cup brown sugar
1/2 cup M&M's
1/3 cup sugar
1/2 tsp baking soda
1/4 tsp salt
1/2 cup mini chocolate chips

Layer the ingredients in the order given into a wide-mouth 1 quart canning jar.  Make sure to pack the brown sugar before adding the M&M's.  We used the bottom of our ice cream scooper for this job and it worked great.  We also topped our jars off with more M&M's to add more color and fill the jars.


Then we added the rest of the directions to the top of the jar. 

Monster Cookies
In a large bowl, cream 1/4 cup softened butter, 1 egg, 1/2 cup peanut butter and 1/2 tsp vanilla.  Slowly add the Monster Cookie mix in this jar until well blended.  Form dough into 1 inch balls, place on a greased cookie sheet and bake at 375˚F for 12 minutes.


You can click here for a printable of these tags.

We decided to embellish the jars a little more with some pipe cleaners to make hair.


You will also notice the jar on the far left has already made cookies in it.  One of our nieces is in college and lives in the dorms, so I made her a jar with the cookies already made.  Then we just made one jar per family for the rest of the nieces and nephews.


Saturday, October 15, 2011

Yarn Pumpkins


All you need is orange yarn, brown or green yarn for the stem, flour, water, balloon and a bowl to help keep the balloon in one spot.  Mix 1/2 cup flour to 1 cup water until it creates a paste.  Blow your balloons up to the size you would like your pumpkins.  Cut the orange yarn into long pieces and dip them in the paste.  Wipe off the excess and place the yarn on the balloon.


Once you are happy with the amount of yarn on each of your balloons, use your brown or green yarn and make a stem.


Let them dry overnight.  You will want to flip the balloons over at some point so that the yarn that was in bowl has a chance to dry too.  When they are completely dry, pop the balloons and pull out the balloon pieces.


Finished product:


Friday, October 14, 2011

Milk Jug Ghosts

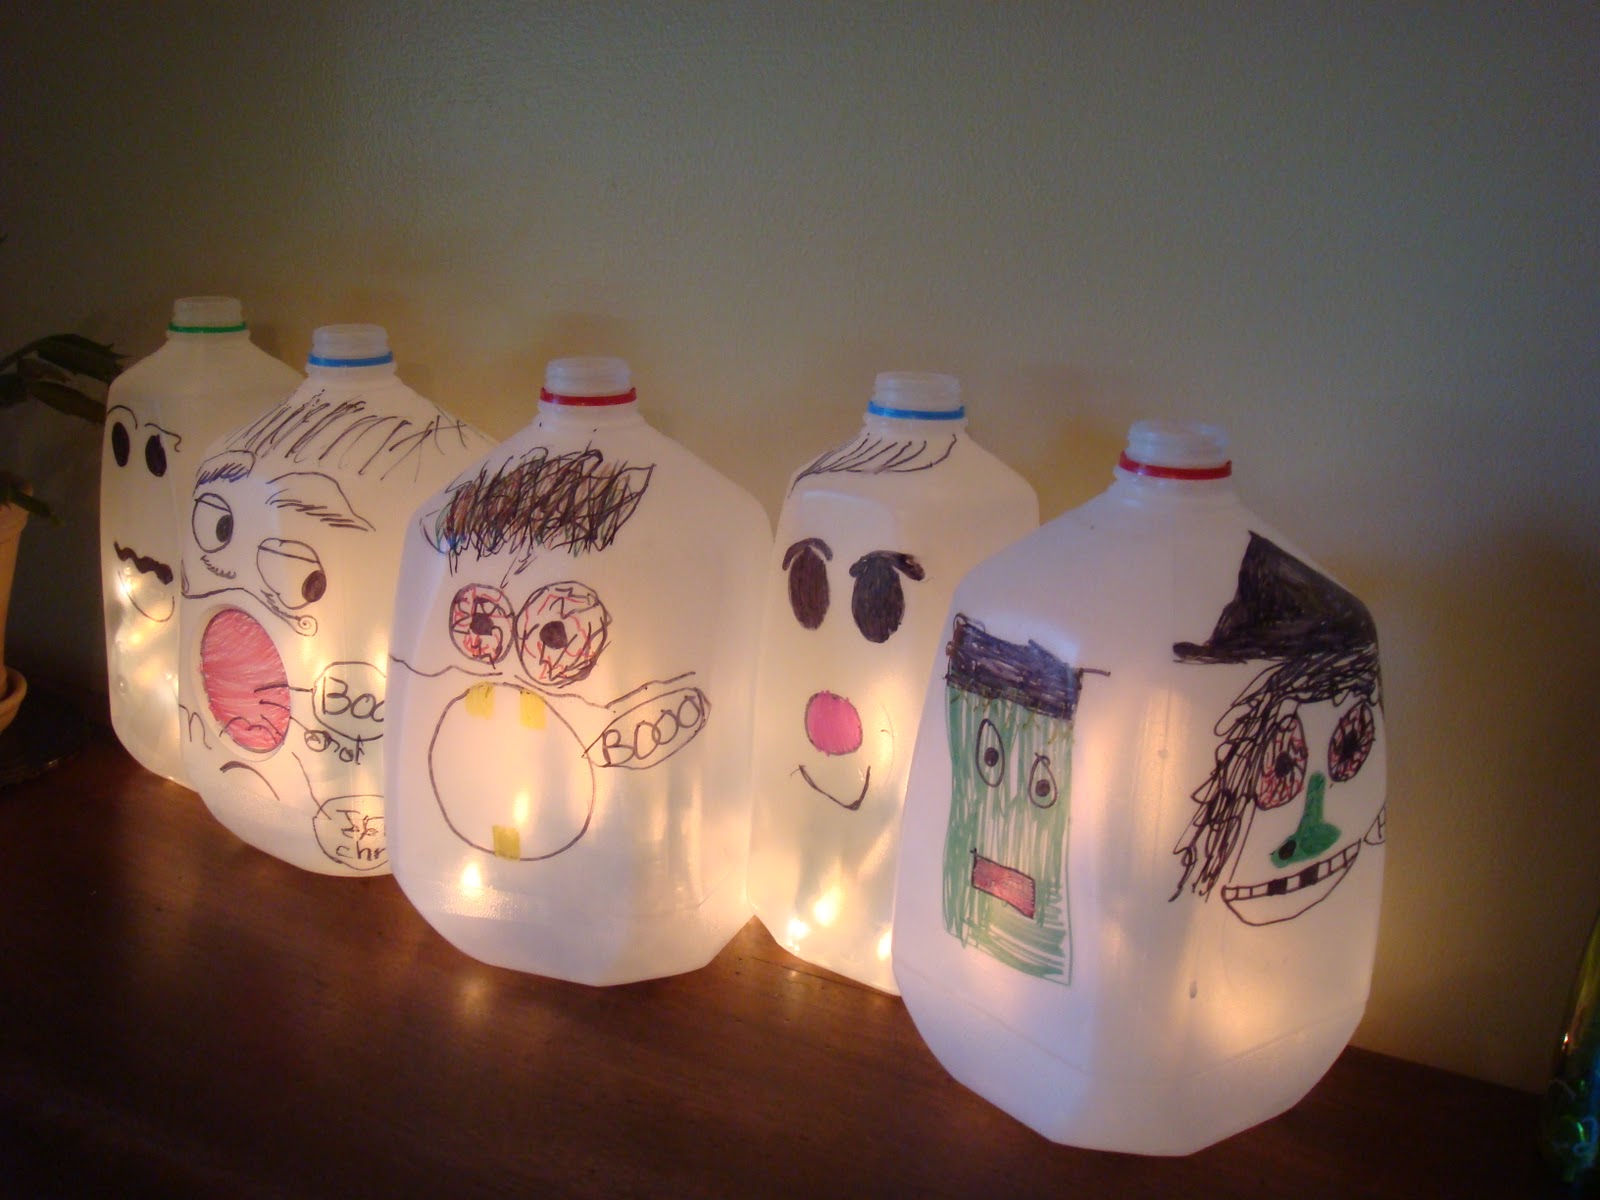
My kids did not have school on Monday, so while my 2 year old took a nap, my older two kids and I made Halloween crafts.  I had been saving my milk jugs for awhile because I had seen this idea on another blog and knew my kids would enjoy it.  We cleaned the date and the label off with Goof Off.


Next was the fun part, decorating the milk jugs.  I let the kids draw whatever they wanted on the milk jugs with permenant markers.  My daughter also made a witch and Frankenstein jug. 


Next, I took a razor blade and cut a small hole in the back for the lights.  Then I used a string of 100 white Christmas lights and put as many lights in each jug as possible.  We positioned them on the buffet and plugged in the lights.  They are so fun to look at everyday!  I love how my son made the 2nd one in from the left looking at the middle jug.


Thursday, October 13, 2011

Lego Halloween Costume!

My son loves Legos, so when I got the email from Tip Junkie with this Lego Costume, I knew that was what he would want to be.  I showed it to him and I was right.  For the details of how to make the costume, you can view the link above.  I did make a few changes. 


  1. I bought my 4 inch round paper mache boxes from www.shindigz.com for $.99 each. 
  2. We decided to make our Lego 2x3.  We wanted to make it a little smaller because my kids are some of the few lucky kids that still get to dress up and have a parade at school.  This way he will still be able to sit down with his costume on.
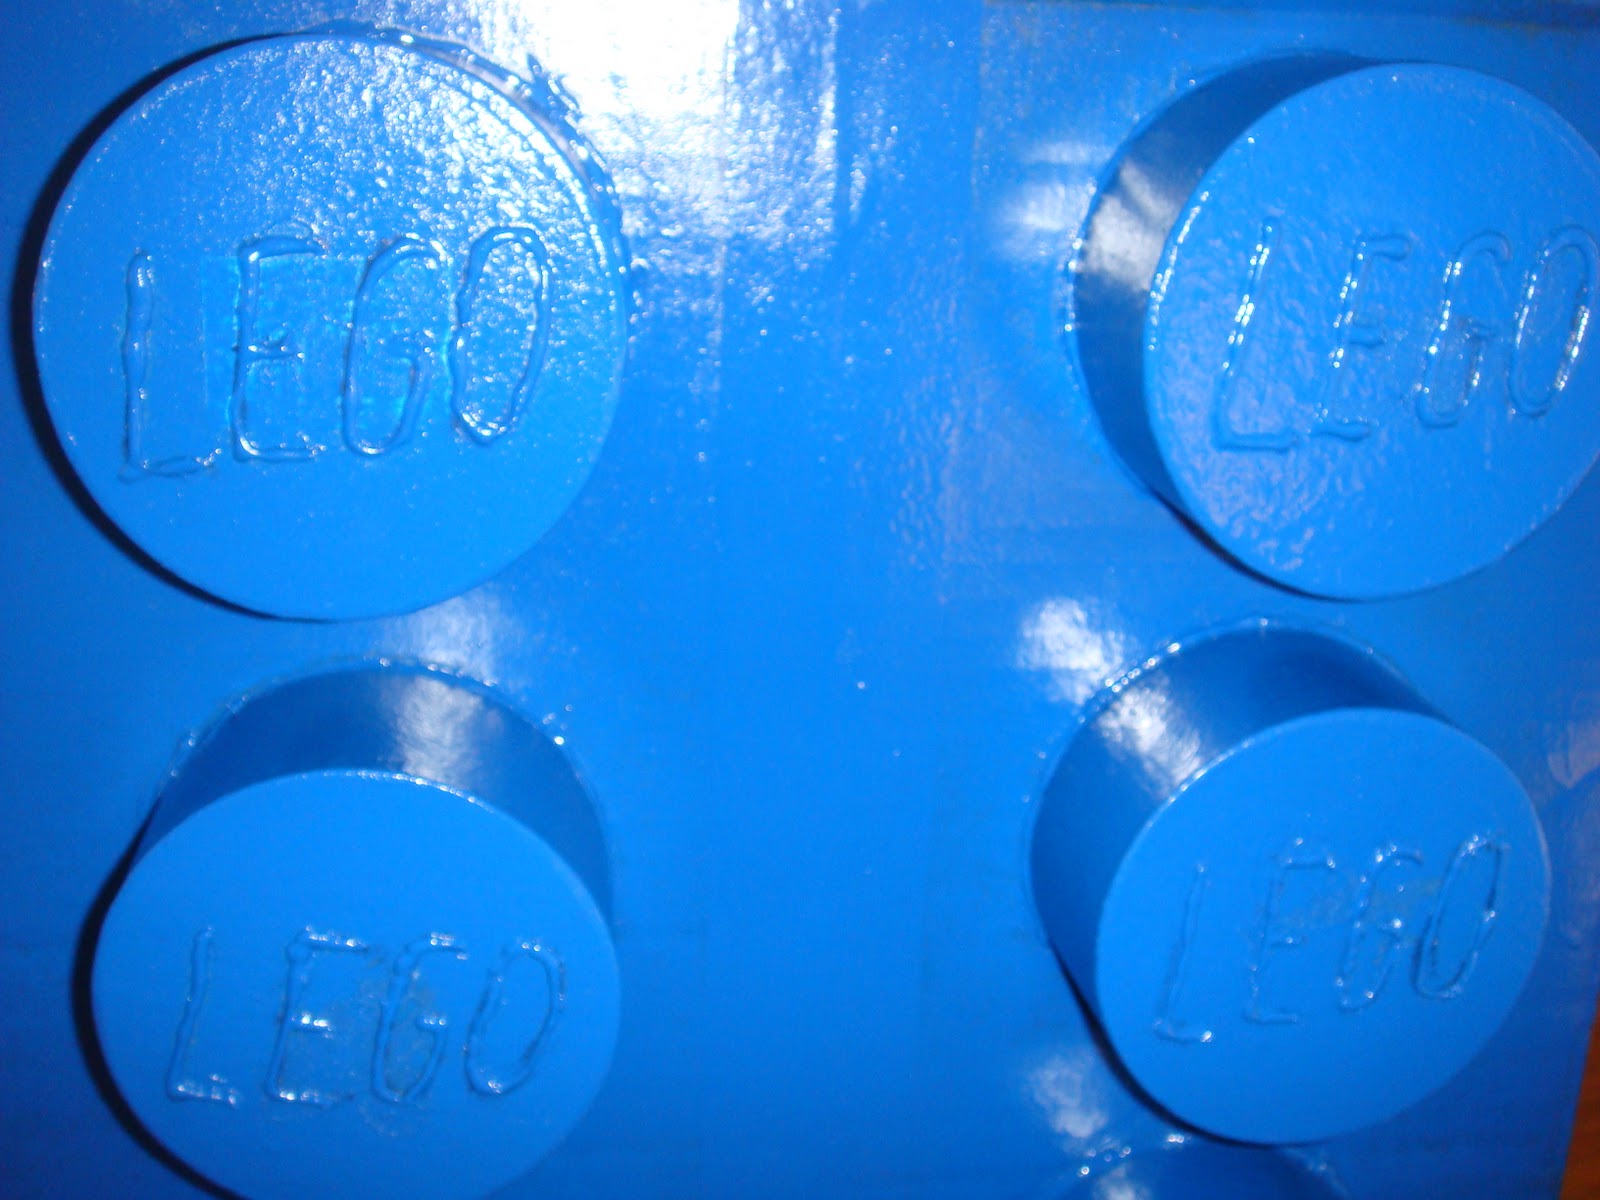
  3. On all the little Legos, on the bumps it says: LEGO.  I wanted to make his costume as authentic as possible, so I wrote LEGO on each one with a hot glue gun before we spray painted the box.

Post a comment if you have any questions on how to make the costume.


Monday, September 26, 2011

Time Saving Tip!

Have you ever browned hamburger in your crock pot??  This is something new I have started doing and I am loving it.  It makes dinner time much quicker when you already have your hamburger done or you taco meat ready.  Let me introduce you to 3 of my favorite things:


  1. Crock Pot Liners ~ makes for easy clean up!
  2. My Crock Pot!
  3. The Pampered Chef Mix N Chop ~ helps break up the hamburger into small pieces

Put 4 to 5 lbs of ground beef in your crock pot and break it up into small pieces.  (This is 3 lbs ground beef and 1 lb ground turkey.)  Turn your crock pot on high for 4 hours.  Mix and Chop your meat every 1/2 hour to hour, or whenever you remember.

after about an hour or so


All finished!  Now is the tricky part, draining the grease.  You could get a pan and put a strainer inside and pour the meat in the strainer so that all the grease goes in the pan.  Then disgard the grease.  What I did this time was take out the liner and poke holes in the liner and then let it pour into my grease container.


Be careful if choose this method, the meat and grease is hot.

Then you can separate the meat out into freezer Ziploc bags.  Let the meat cool and then put it in the freezer until you are ready to use it.  I have also returned 1/2 of the meat back to the crock pot and added taco seasoning as directed and then let it sit in the crock pot on low for 1/2 an hour.  Then I separated the meat into bags and froze it.


Saturday, September 24, 2011

Barbeque Teriyaki Chicken

Here is a chicken recipe for the grill.

Barbecue Teriyaki Chicken
1 lb boneless skinless chicken breasts
1 bottle Kikkoman Teriyaki Glaze (make sure you get the glaze)
1/4 tsp garlic powder
1/4 tsp black pepper

Marinate your chicken in the teriyaki glaze (about 1/2 a bottle) for an hour.  Meanwhile, mix 1/2 cup teriyaki glaze, garlic powder and pepper.  You will use this as a baste for the chicken.  Grill your chicken.  Brush the baste on your chicken while it is cooking.  Cook until the chicken is no longer pink.  Serve over rice.


Friday, September 23, 2011

Almost Rotisserie Chicken ~ National Chicken Month

My family and I have been enjoying some new chicken dishes this month.  Now it is time for you to try them out.  Here is a crock pot dinner.  (Come back tomorrow for another easy chicken dish.)

Almost Rotisserie Chicken

1 lb boneless skinless chicken breasts (Even though I don't like chicken on the bone, I know I am weird, I think this one would be better with chicken legs or thighs.  You can even put a whole chicken in if you would like.)
Lawry's Seasoning Salt to taste
Pepper to taste
4 potatoes
2 cups baby carrots
foil

Take one large piece of foil and place your potatoes on it and then top with the carrots.  Roll it up so that no potatoes or carrots are showing.  Get an extra piece of foil if need be.  Place this on the bottom of your crock pot.  Place the chicken on top of the foil so that the chicken will not be sitting it its own juices.  Sprinkle the chicken with the seasoning salt and pepper. 


Cook on High for 4 hours or until chicken juices run clear.


Enjoy!

Related Posts Plugin for WordPress, Blogger...